I am sure that if you are reading this you are like me where unexpectedly your jewelry has taken over your dresser. For me it was like it happened over night one day things were nicely organized and then boom it was like jewelry exploded all over. I already had this tree stand that held my pieces, but I started to realize it just was not useful anymore. It was good when I had just a couple pieces but once my collection started to grow and evolve it wasn’t working out anymore. My next issue was that I couldn’t find anything that worked with my decor or that was really any different than I already had. I didn’t want to end up with 3 or 4 tree organizers on my dresser just to keep things organized. So in order to get something that would be functional I knew I was going to have to make something myself. I needed something big enough to hold long necklaces and be able to blend in with the room and not stand out too much. Because it is a frame the jewelry pieces become a work of art on my wall when they were hung up.
Here is a look at what you are going to make!

©Blurred Lines
I started with some research on of course Pinterest and found a lot of pictures of organizers like I wanted or similar to what I needed but very few actually had instructions. Most of the pins were dead ends which is a whole other topic because that is a major pet peeve of mine on Pinterest. I am sure I am not the only one that hates dead end pins. So I decided to just give a go and here is how I did it.
First you need to gather up your supplies:
– Frame in any size; should be all wood so that you can attach the staples. I picked out a white frame that measures from the exterior 20″W x 24″H
– Roll of poultry netting – can be found in your hardware store near the fencing. I purchased a square shaped netting but you can get the standard hexagon shape. It depends on the look you want. (the octagon shape will be more country themed; versus the square which feels more modern)
– Staple gun & staples; I used 1/4″ staples
– Tin snips to cut wire netting
– Gloves (this is a must more on why later)
– Towel or mat to lay frame on

©Blurred Lines
Once you have all your supplies, lay out your work space. You are going to need a pretty large area to work with the netting. Working with the netting is the hardest part so you will want some space to move around in but once you get things cut it becomes a bit more manageable.
Now that you have your space all laid out you are going to want to spread out your towel or mat; I used my yoga mat for cushion. Place your frame upside down on the mat and measure the inside width and height.

©Blurred Lines
Be sure to measure it from each corner and down the middle, to verify that it is the same distance. For me the interior measurements were 16″W x 20″H. Now that we know what the interior measurements are we will need to cut the netting.
Cutting the netting can be a bit tricky, here is where you should grab a pair of gloves. I did not use some and regretted it, the edges are prickly. So do the opposite of me and protect your lovely hands! For me the getting the roll unwrapped was a bit of an issue it has wire wrapped around the outside spiraling inside as well. So when removing this wire the roll quickly expands. This is where the gloves come in handy because you can grip and move things around with a bit more ease.
 Now that you have gotten your netting rolled out, you may need to fold and mold it to get it lay flat enough to work with. Luckily it is mold-able so you can adjust this as needed. Once you have it flat enough you need to measure out a piece the size of the inside of your frame. Cutting the wires isn’t easy at first but once you cut the first few rows you will get the hang of it and it will move smoothly. I noticed I had to make sure that the wire was close to the inside of the snips to get the full pressure of the blades.

©Blurred Lines
Now that your netting is cut you will want to lay it inside your frame and make sure that things are fitting correctly. You will have to do some adjusting of the wire by bending and molding it to lay flat inside the rim of the frame. This is a bit time consuming and you will be adjusting things even when you begin to staple too, so it doesn’t have to be perfect but should be close.

©Blurred Lines
Now for the tricky part you are going to staple the netting into place. Start at one corner and staple it as close to the inside of lip. If you staple to close to the outside of the frame it could chip the frame; you can see this in the picture below. I got a little too close to the edge and ended up dinging my frame. I actually did this twice during the process, so I have a couple chips that can be seen from certain angles.
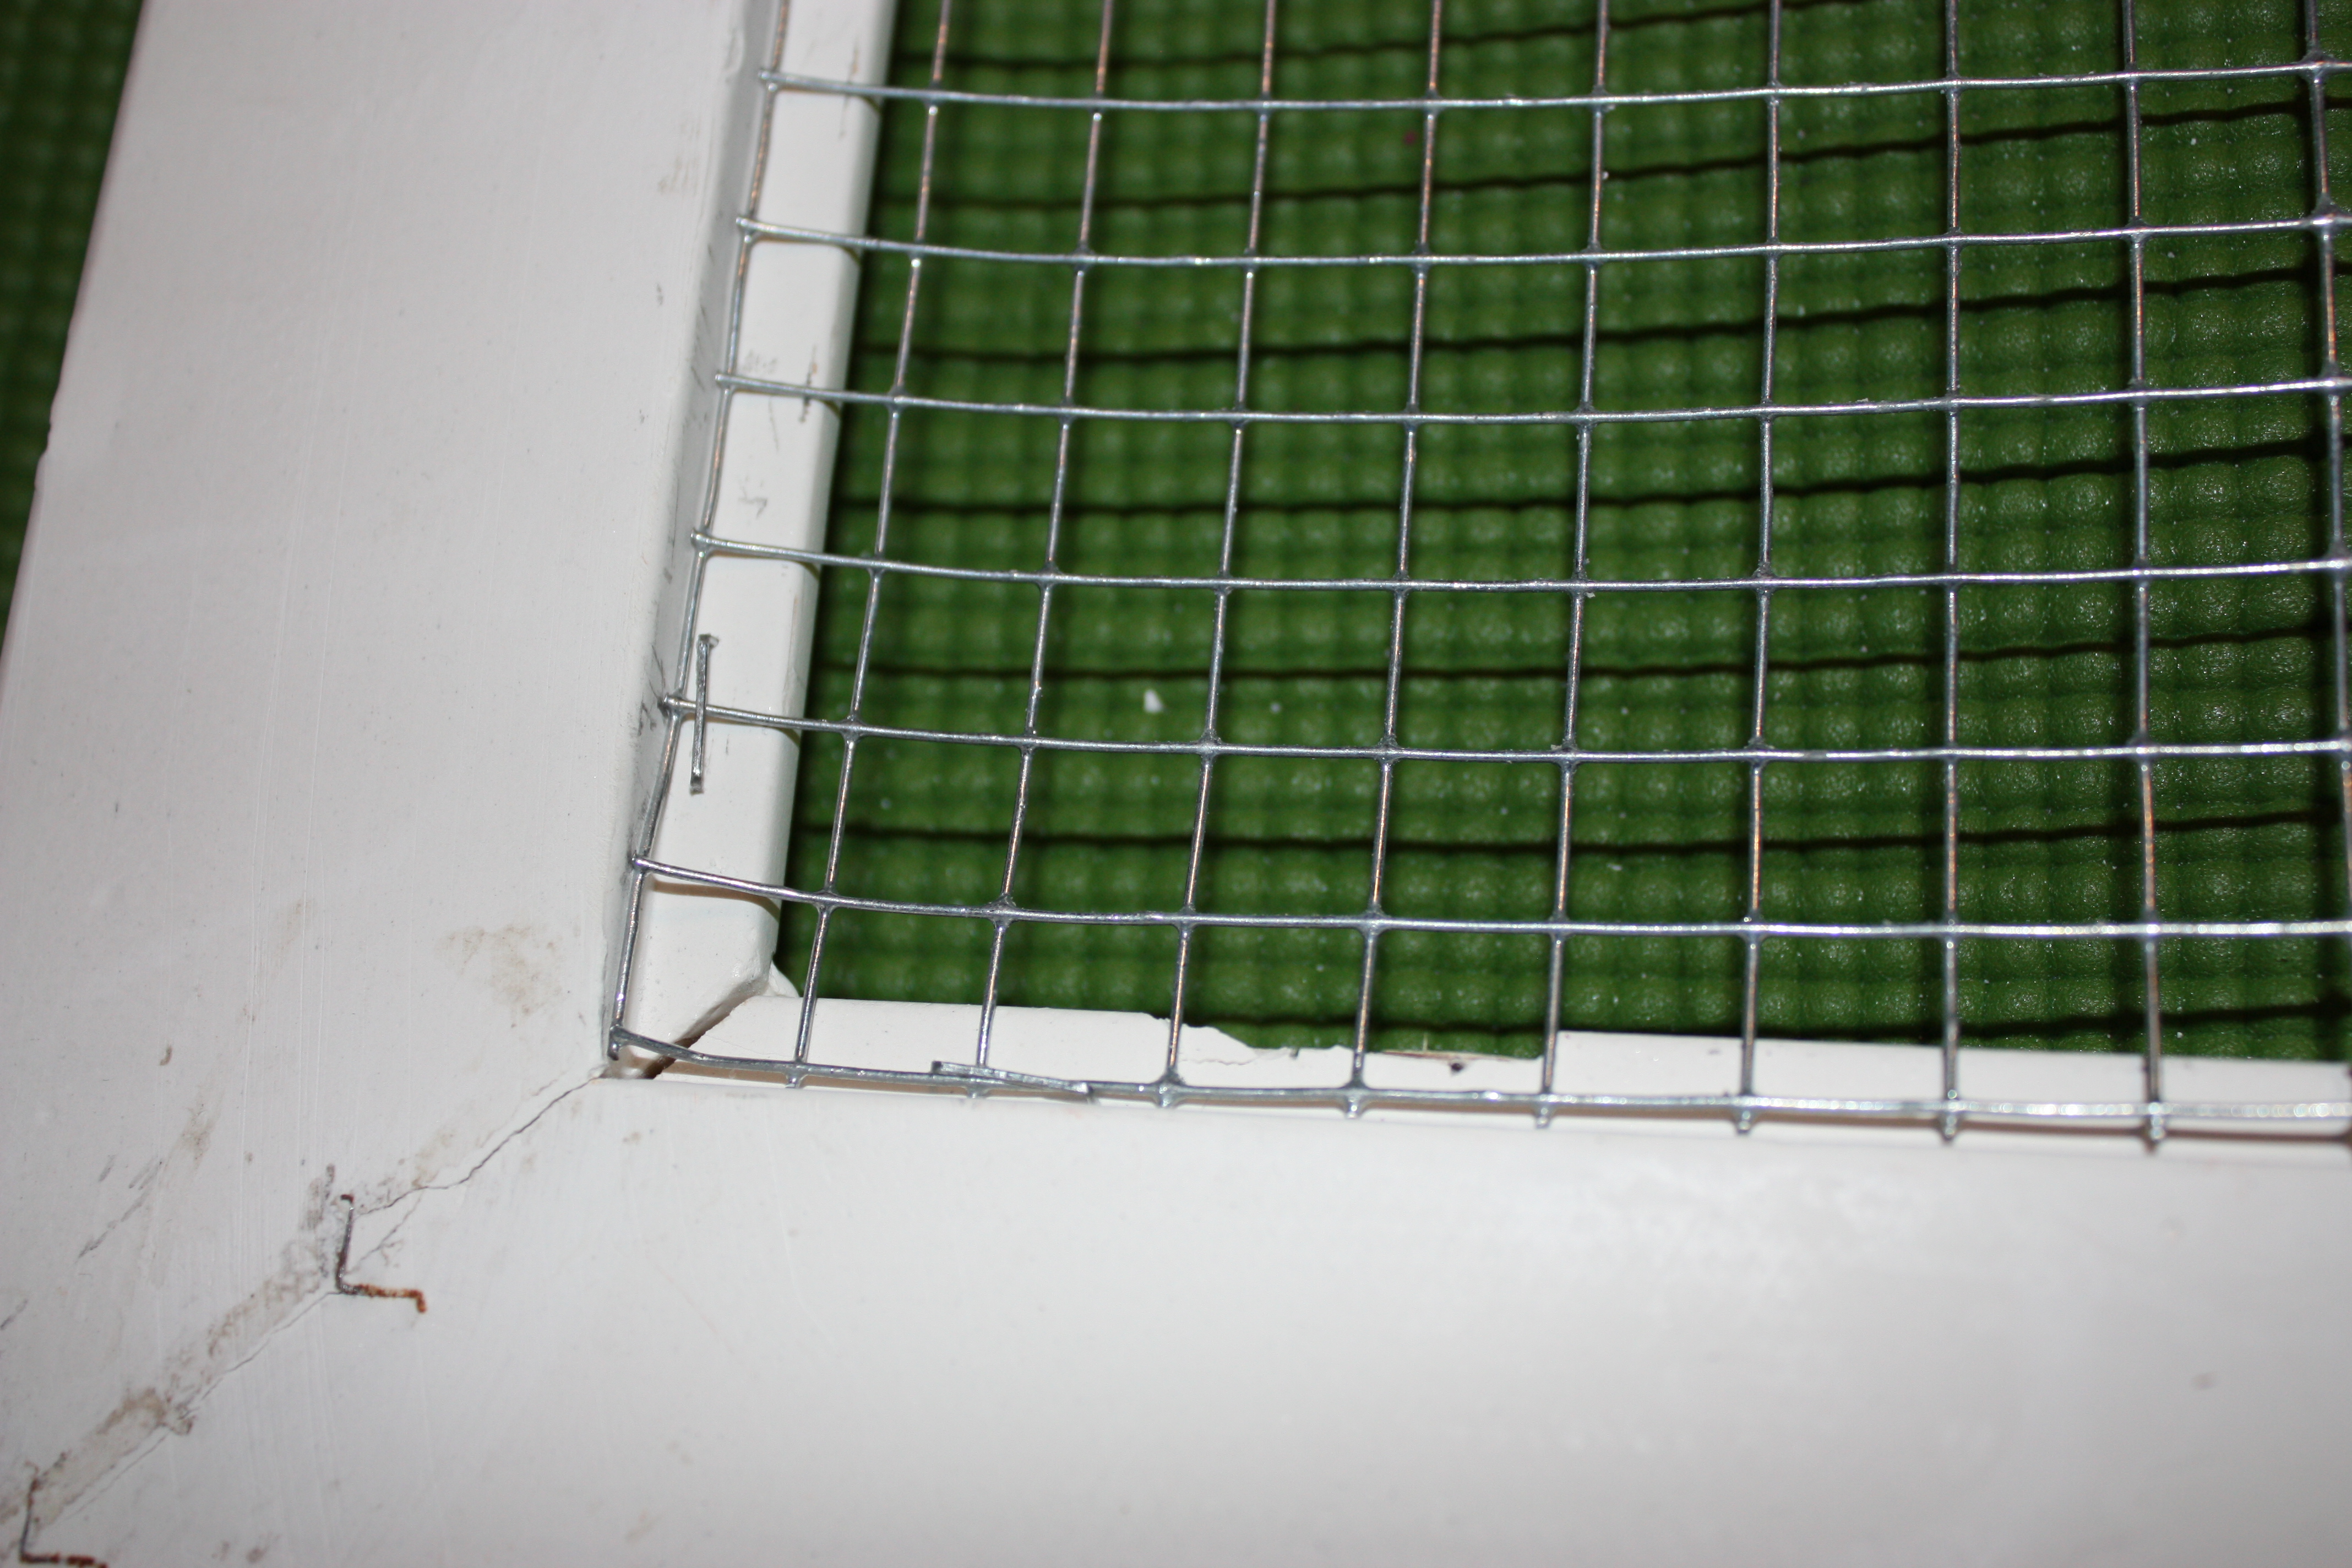
©Blurred Lines
If you notice the staple that is on the left side of the photo this is how close you want to staple the netting. I would place a staple ever 2 – 3 inches along each side, being sure to staple at the corners first. Adjust the staples to your frame you may need more or less, I noticed in some areas I added a few extra because the netting didn’t lay just right. Once you have stapled the netting down you are all set to begin your organization.
I used small S hooks to hang the necklaces and a few hoop earrings. You can get these S hooks in different sizes depending on your jewelry needs. Here is a close up of the bottom corner and how everything lays once hooked on.

©Blurred Lines
You are now all set to keep things organized! I will admit now that I have taken my items off of the tree stand I had and put them on this frame, I am able to see things more clearly. Which has allowed me to wear pieces I forgot I had because the pieces look better when you can view them. I am already planning to make other frames of different sizes because I unfortunately or fortunately depending on how you look at it have too many pieces for this frame and it filled up really quickly.
I hope you give this a try for your jewelry organization. If you do make one be sure to come back and let me know how it went!
